
SSL Certificate
Deploy an SSL certificate to enable HTTPS encryption of websites, trusted identity authentication and prevent against data leaks or tampering during transmission.
Get SSL Certificate >Web Security Support
NicSRS API


Step 1: Get your SSL certificate ready
1. Download and open the ZIP file containing your certificate. Name your certificate file as your_domain_name.cer. (If your certificate is a .crt file by default, you can use SSL Converter Tool to convert it to cer.)
Step 2: Install SSL certificate
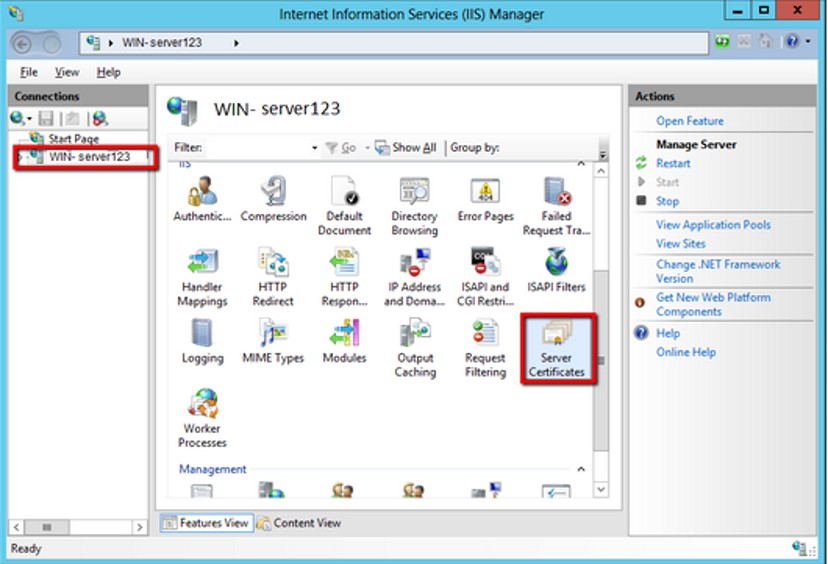
1. From the Start screen, find Administrative Tools, and open Internet Information Services (IIS) Manager.
2. Click the server name.
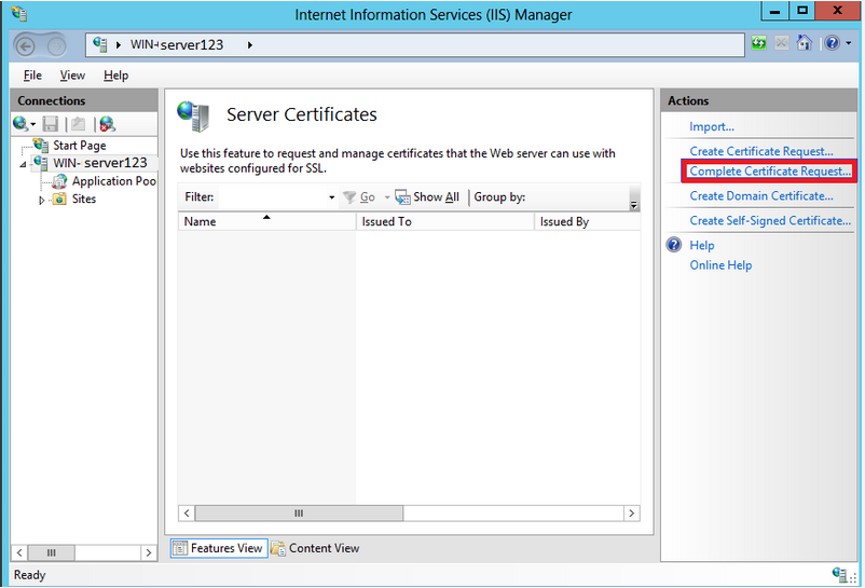
3. In the middle menu, find and double-click Server Certificates icon.
4. Select Complete Certificate Request in the actions menu.
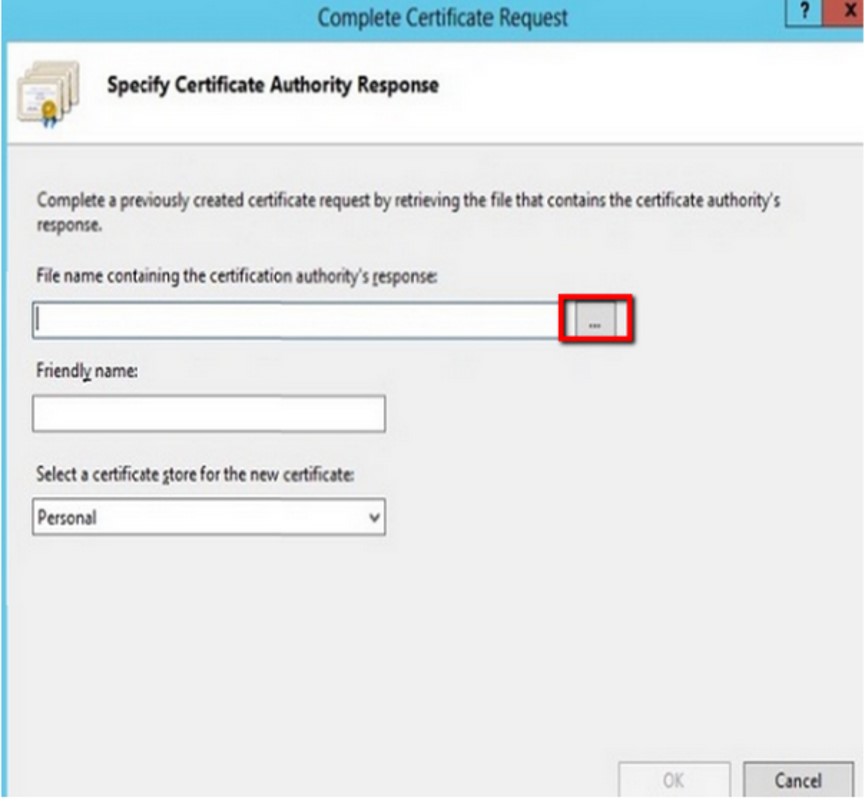
5. Click Browse and select your_domain_name.cer file.
6. Specify a friendly name for the certificate and select Personal to save.
Step 3: Assign and bind the SSL certificate to your website
1. Click OK to install the certificate to the server.
2. After the SSL certificate is successfully installed on the server, you need to assign and bind the SSL certificate to your website.
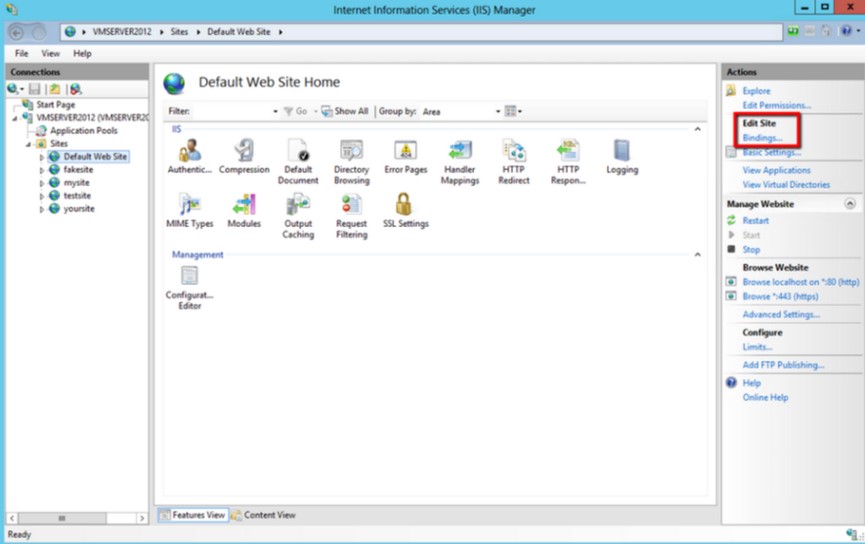
3. In Internet Information Services (IIS) Manager, under Connections, select the server name where the certificate will be installed.
4. Under Sites, select the site for which you want to use the SSL certificate.
5. In the Actions menu on the right, click Bindings.
6. In the newly opened Site Binding window, if there is no HTTPS binding, click Add. If there is an HTTPS binding, select it and click Edit.

7. Select “https" under Type. Set the IP address to All unassigned, the port to 443, and select the certificate with the friendly name.
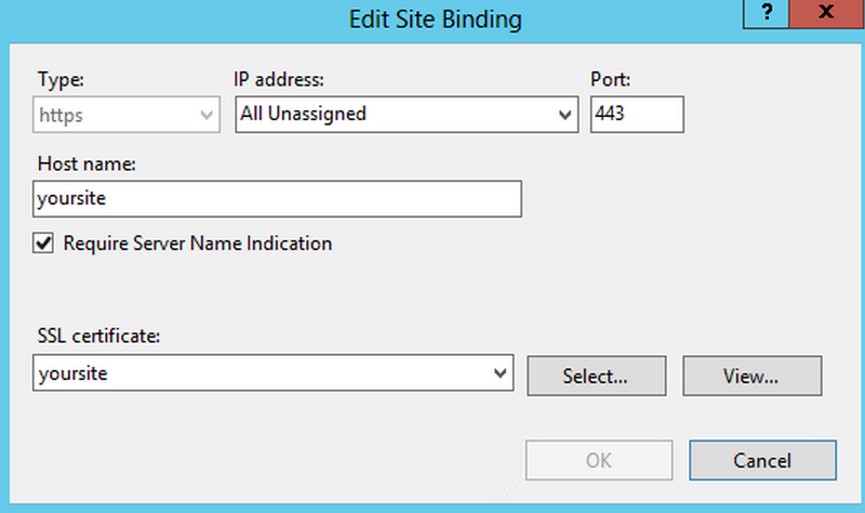
8. Click OK.
9. Now your SSL certificate has been successfully installed and configured on the corresponding website. If you have more websites that need to be configured with SSL certificates, repeat the above steps.
Step 4: Configure SharePoint
1. Prepare the root certificate (the root certificate is usually attached to the certificate email you received). Please save the root certificate as a .crt file.
2. From the Start screen, find and open the SharePoint 2013 Central Administration.
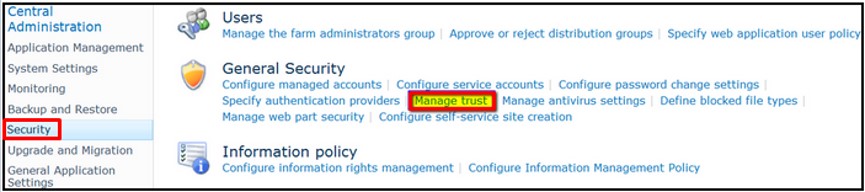
3. In the left menu, click Security; then select Manage trust under General Security.
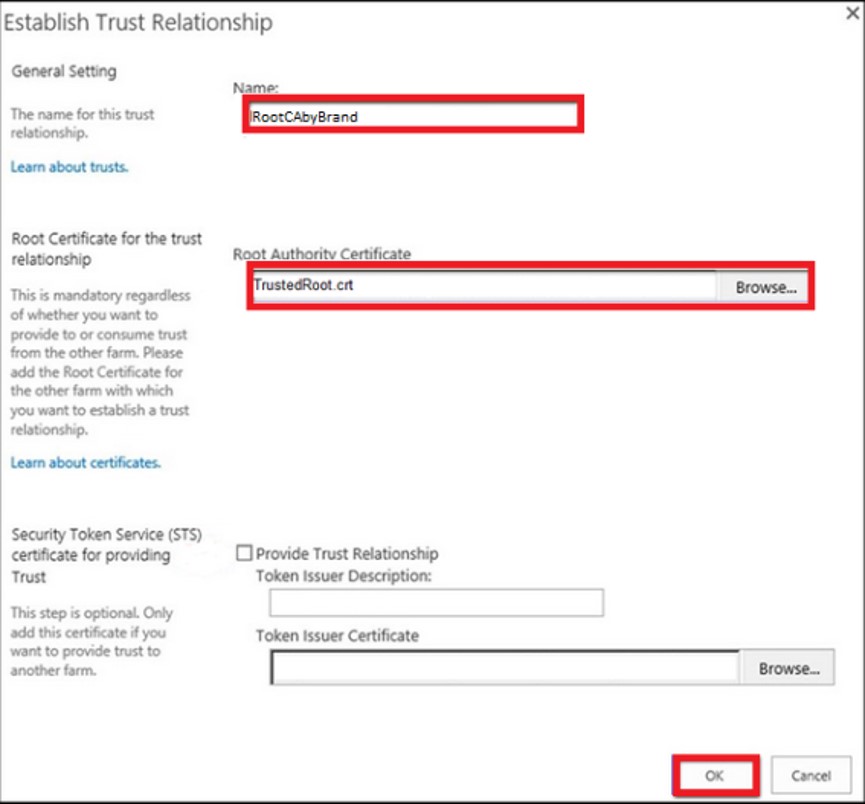
4. Click New.

5. Specify a friendly name for your root certificate, select the root certificate, and click OK.
6. Check whether the certificate is installed successfully - an additional certificate in Trust Relationships indicates that you have successfully installed the SSL certificate for SharePoint.